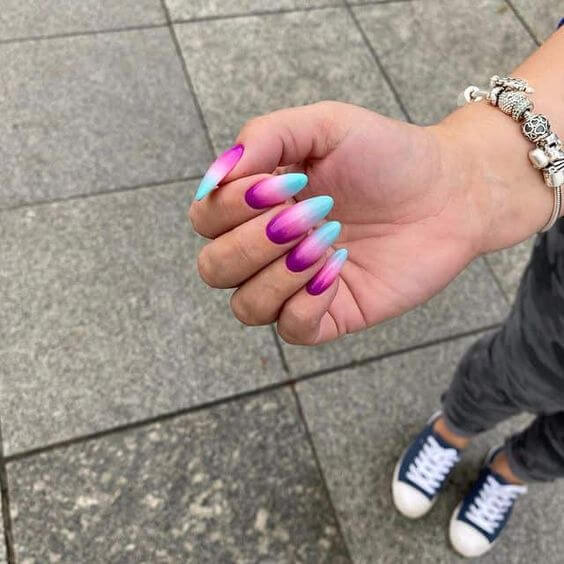
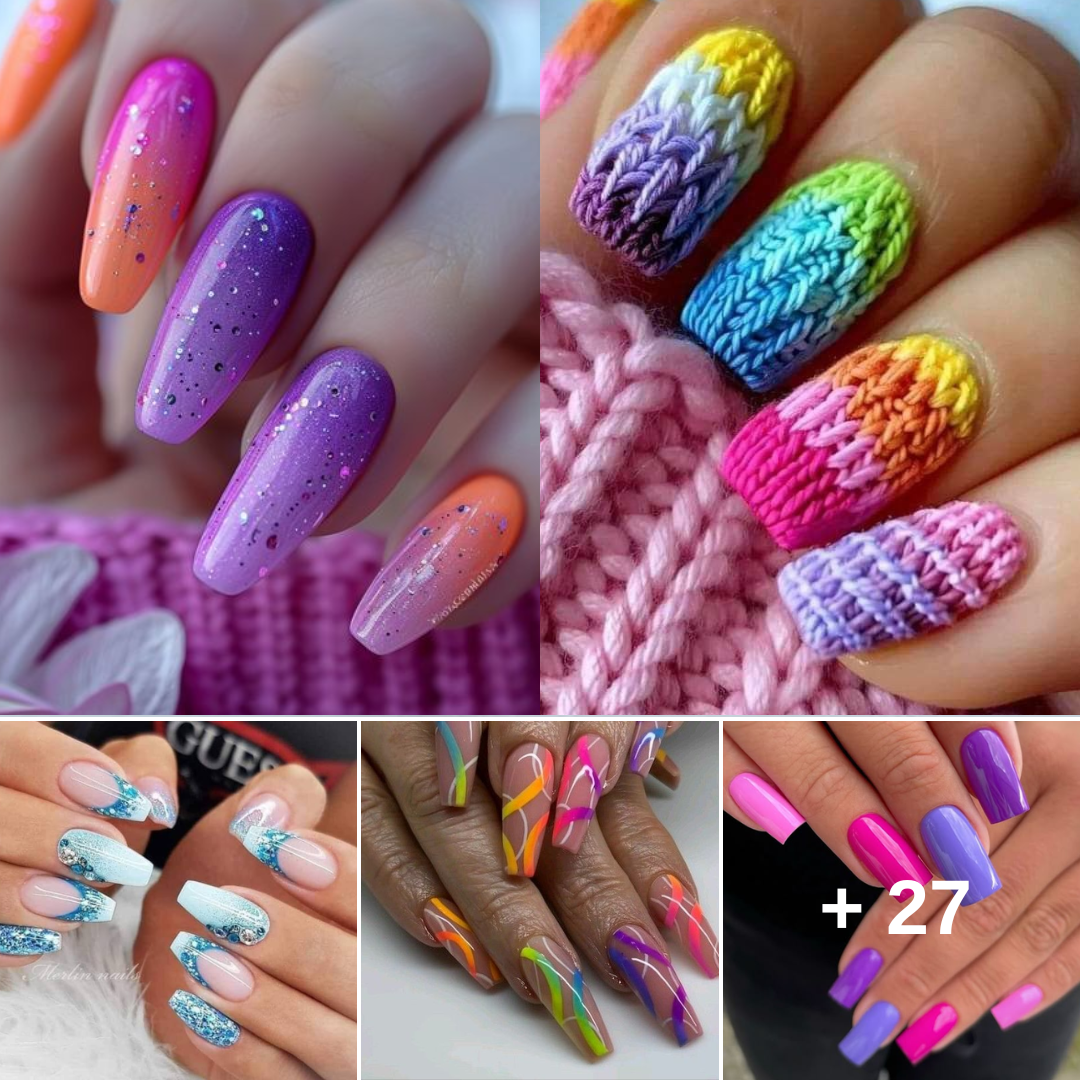
Ombre nails have been popular for several years and don’t appear to be going anywhere anytime soon! Conversely, ombre nail designs are becoming more popular.

I adore ombre nails because there are so many different styles to choose from. You can get an over-the-top ombre manicure (bright colors, coffin nails, etc.), or you can get a super natural, subtle ombre manicure.

Everyone will find something they enjoy! As a result, what could be better than creating your own ombre manicure at home? Today, in addition to sharing some of my favorite ombre manicure inspiration photos, I’ll also show you how to create a gradient effect on your nails.
How to Make Ombré Nails at Home

You’ll need:
- Basecoat
- Topcoat
- Nail polish remover
- Three shades of the same color family (light to dark)
- Clean up brush
- Wedge makeup sponge
- Scissors
Make Your Own Sponge
#1
- Lưu
Source: unknown
“Cut the wedge makeup sponge to make the flat edge more narrow (based on the size of your nail),” instructs Dunne, co-founder and CEO of Varnish Lane. “The goal is to have the wedge only be as wide as your nail. This will minimize the amount of polish that will get on the skin around your nails.”
Apply A Base Coat Layer
“Apply a base coat to your nails,” Dunne says. “Make sure the coat is fully dried before proceeding to the next step.”
Even if a nail polish claims to include a base coat, it never hurts to go the extra mile with a classic base if your goal is to create a long-lasting mani.
Choose Your Ombré Colors
“Brush the three colors in straight lines on the wedge makeup sponge,” Dunne says. “Start with the lightest color at the base of the wedge. The colors can slightly overlap as you brush them onto the makeup sponge—this will help create the seamless fade].”
#2
- Lưu
Source: unknown
If you’re using dip powder, you’ll need to dip the nail into the powder before proceeding. Begin by dipping the tip of the nail into the lightest color and patting any excess away. Use a small, fluffy brush to apply the remaining color strips, then proceed to the topcoat or sealing stage.
Bring Your Ombré to Life
“Gently blot the sponge onto your nail to transfer the polish,” Dunne says. “Make sure all three colors get onto the nail.” Repeat steps three and four on the rest of your nails (or the accent nails you want to be ombré) once you’ve finished your first nail.
You may need to blot the sponge several times to ensure that the polish is evenly applied to the nail. Continue until you are satisfied with the outcome.
Apply Topcoat
#3
- Lưu
Source: unknown
According to Dunne, applying a top coat to your nails immediately after sponging will not only help prevent chips but will also help enhance the fade. So, while you may be hesitant to add another layer of polish to your picture-perfect DIY nail look, we assure you that it will not be ruined. “The topcoat can help to blur the polishes together,” Dunne explains.
Touch Up Around Each Nail
“Use a clean-up brush and nail polish remover to remove any polish that got onto the skin around your nails,” Dunne says. For the best results, look for a smaller, tapered brush that can easily (and neatly) touch up under the edge of each nail as well as around the entire nail bed. When it comes to touch-ups, move slowly and carefully around each nail to avoid accidentally removing polish that is meant to stay on the edges or tips.
Take Care Of Your Cuticles
#4

- Lưu
Source: unknown
“Apply cuticle oil around the nails to re-moisturize your skin,” Dunne says. This is especially important because acetone can severely dry out the skin around your nails.
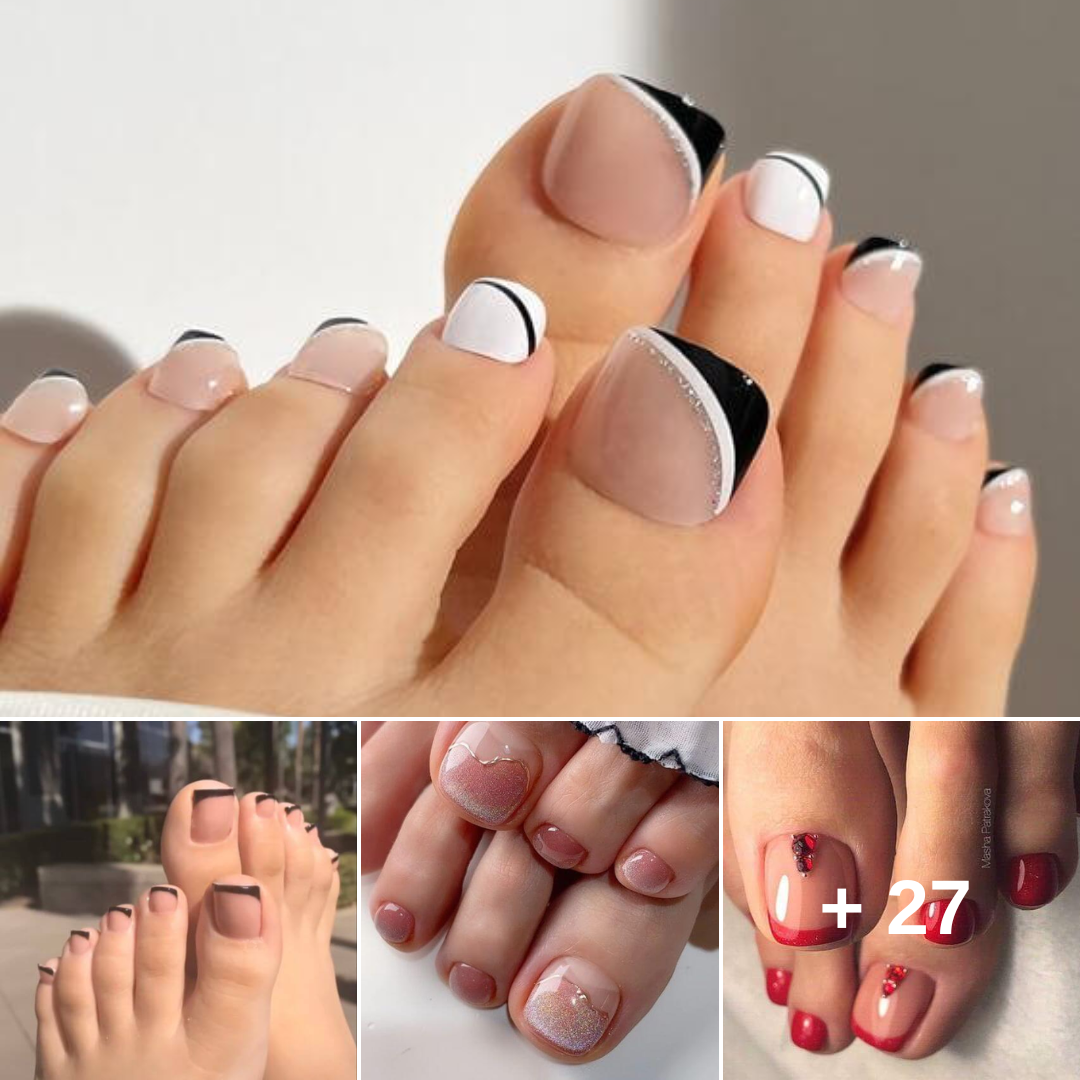
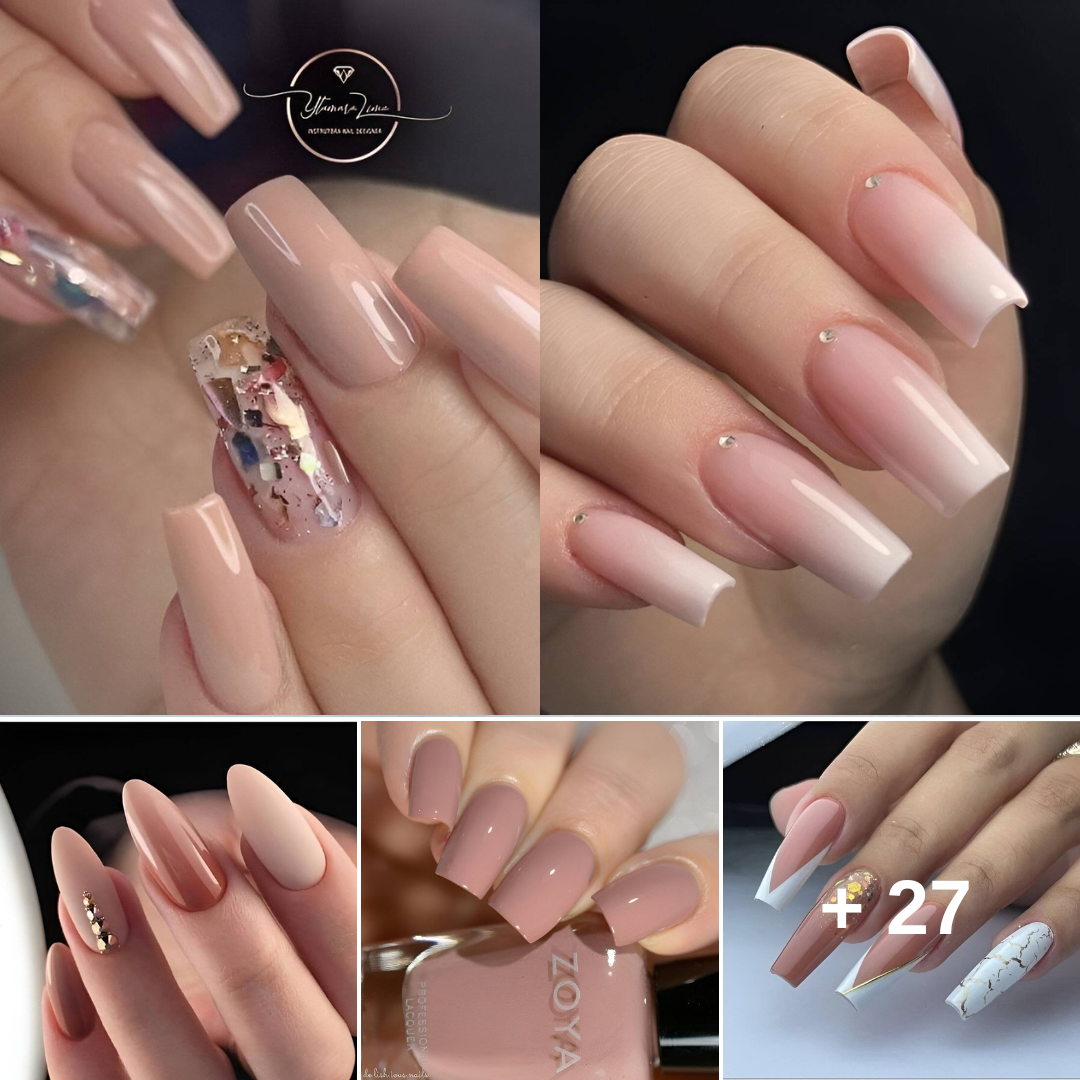
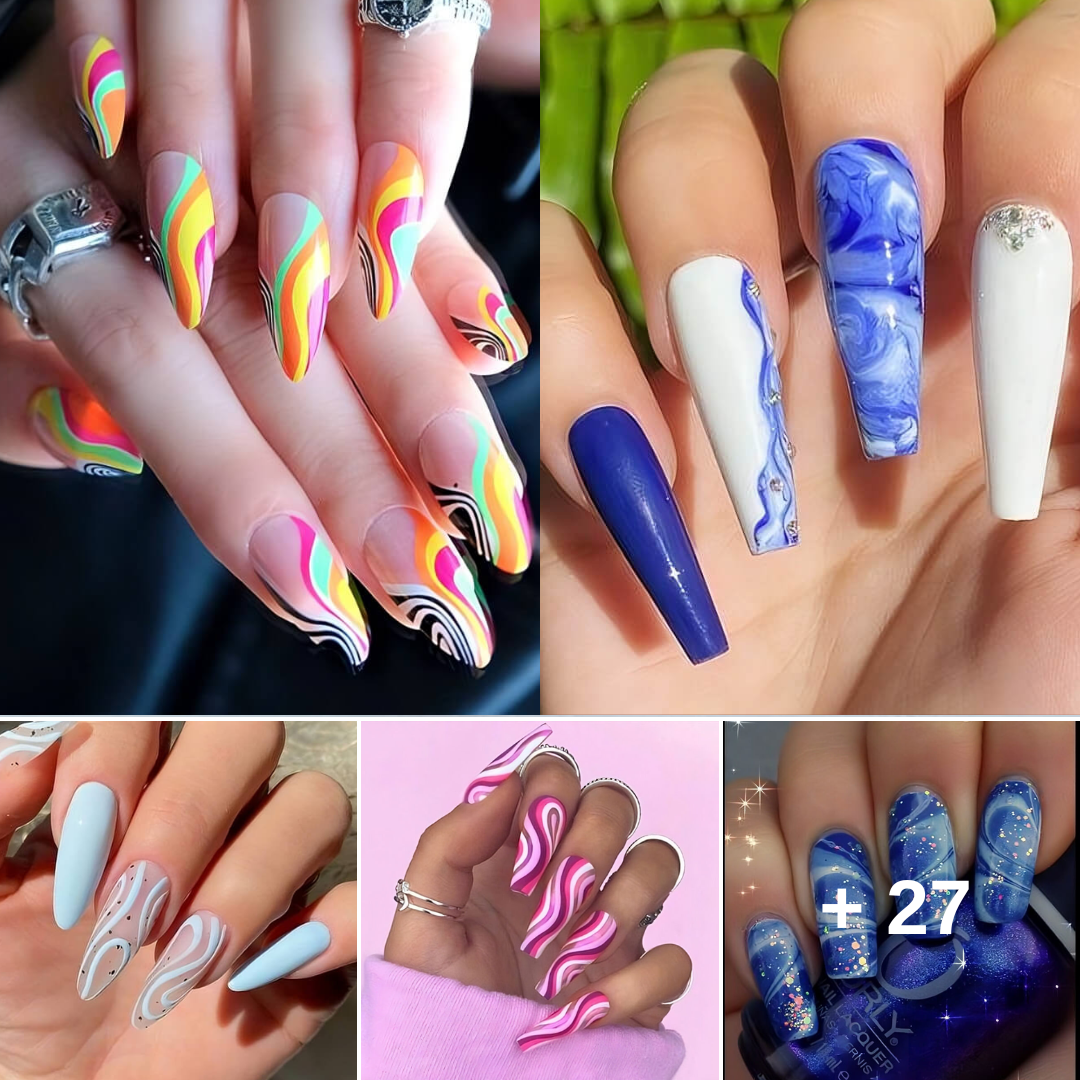
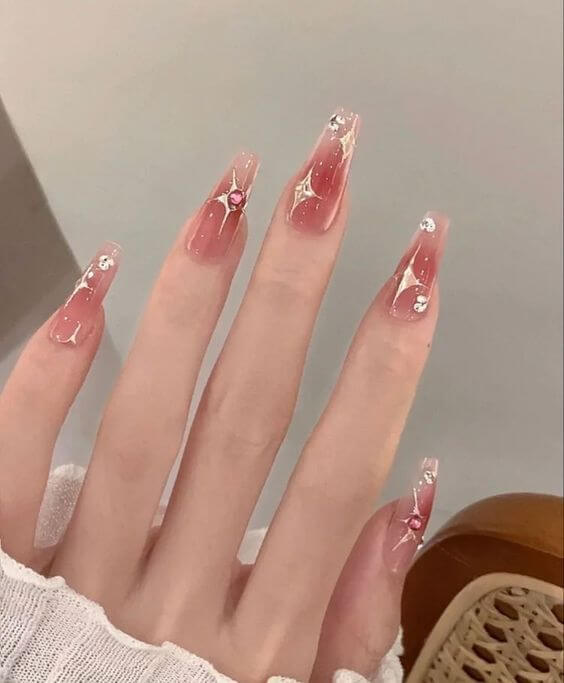
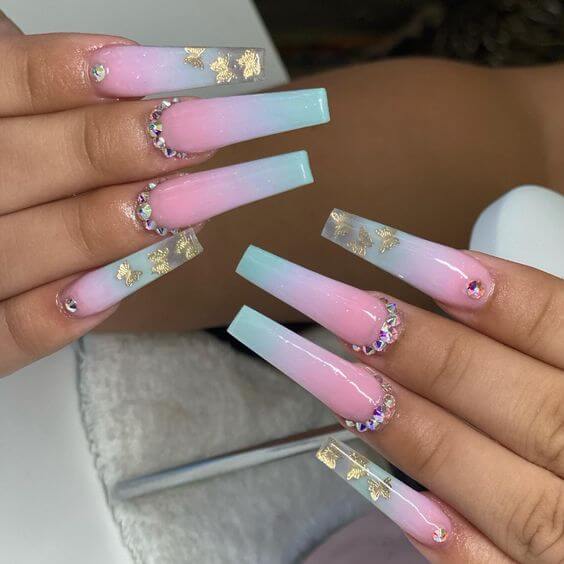
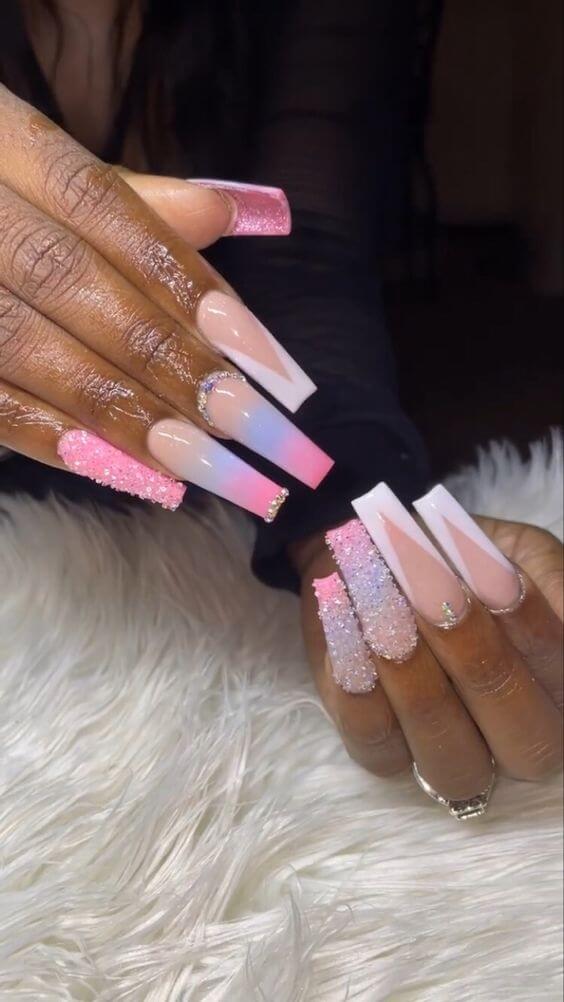
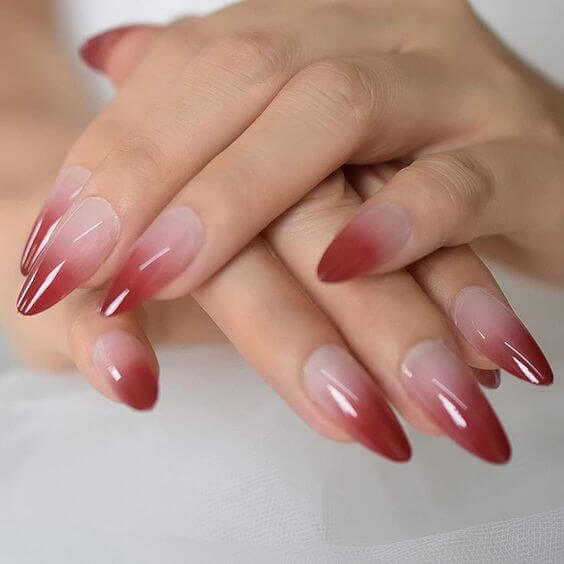
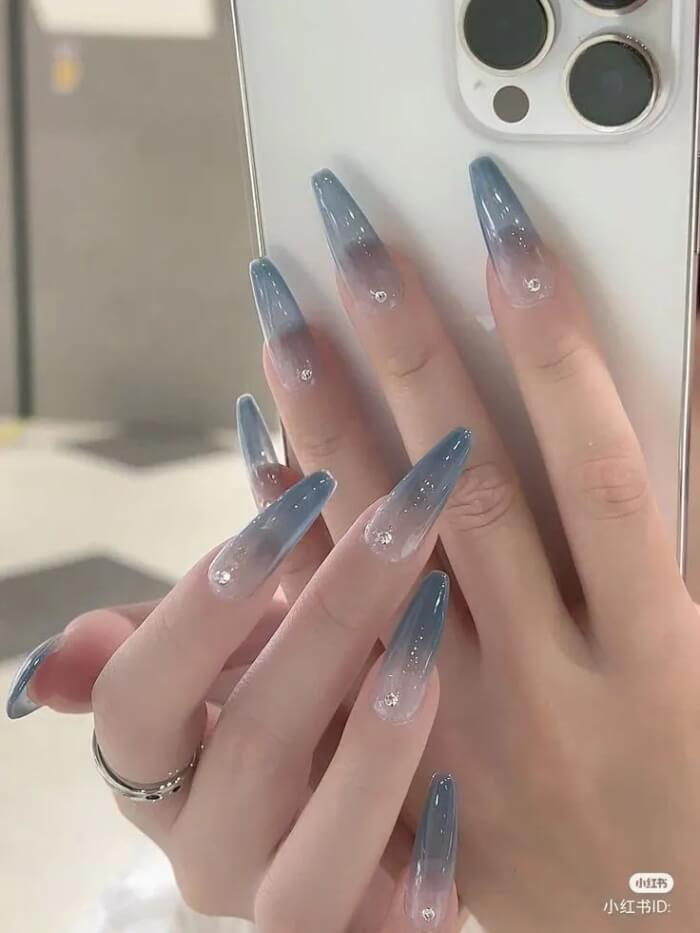
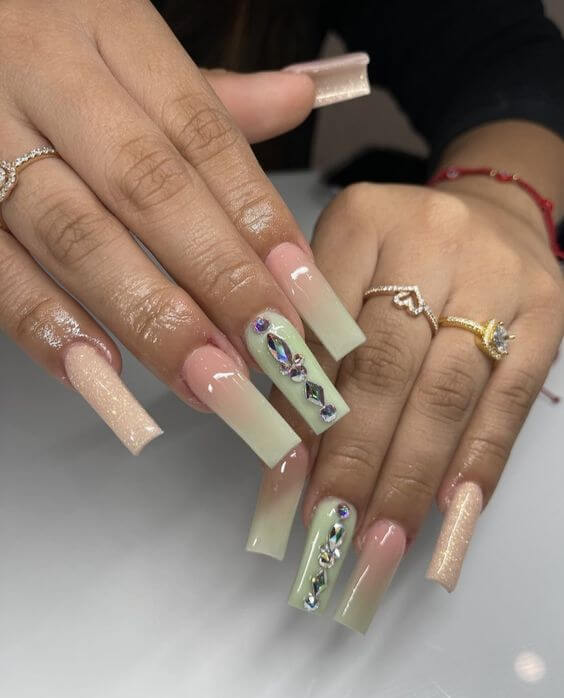
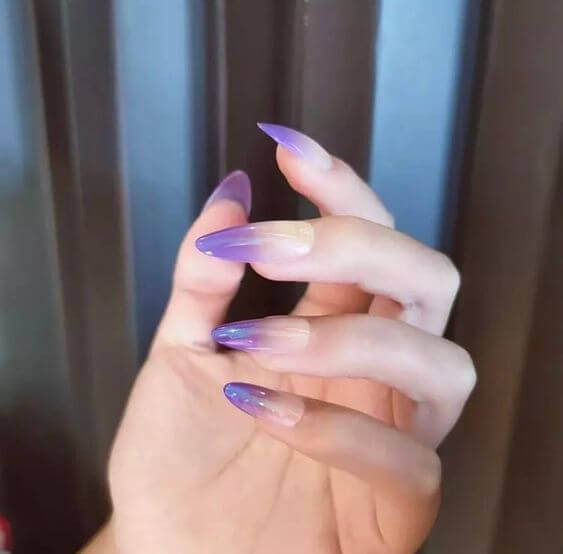
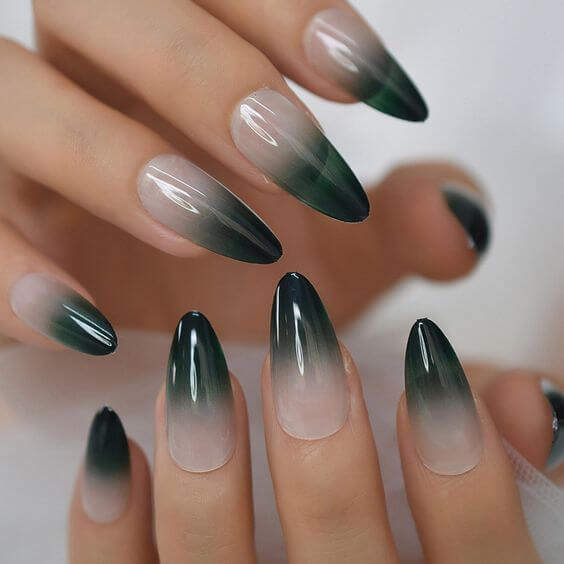
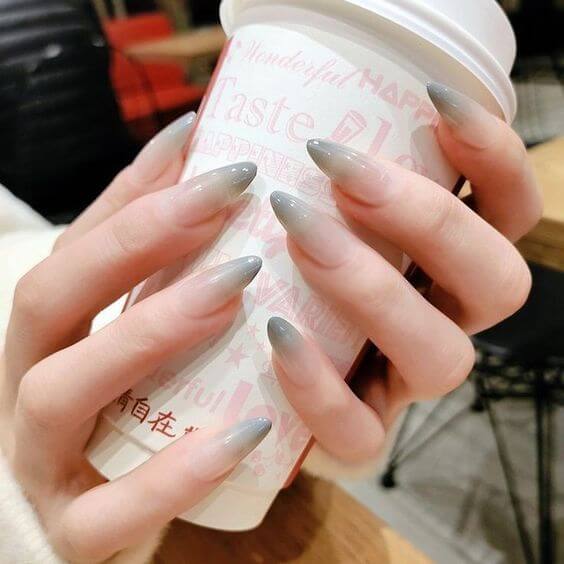
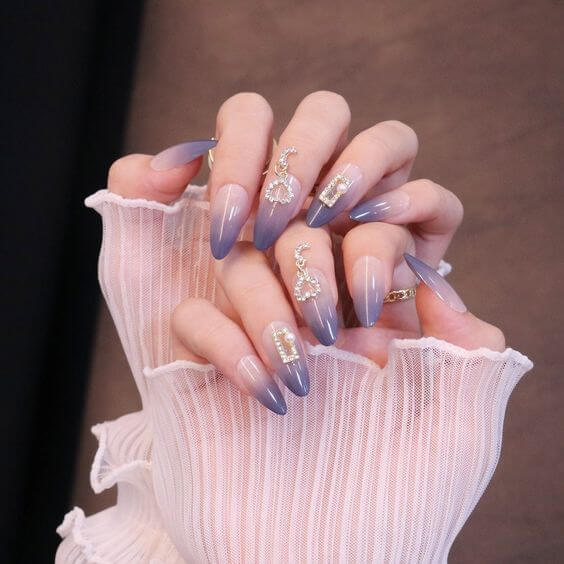
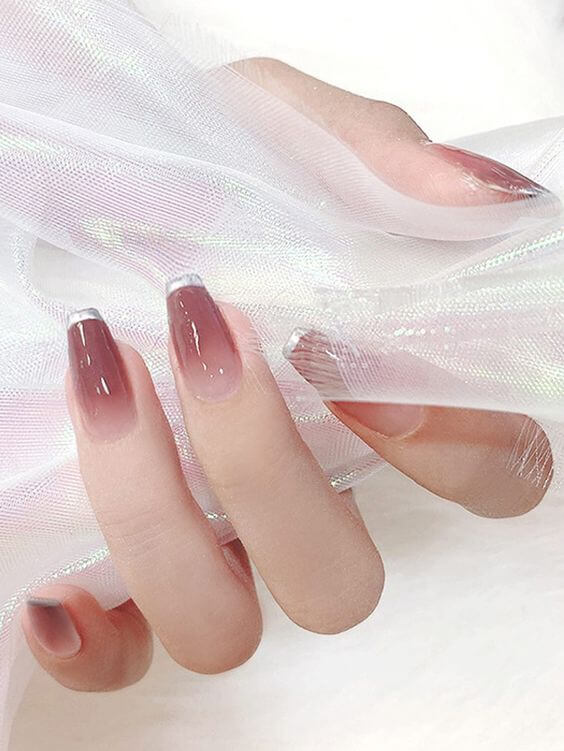
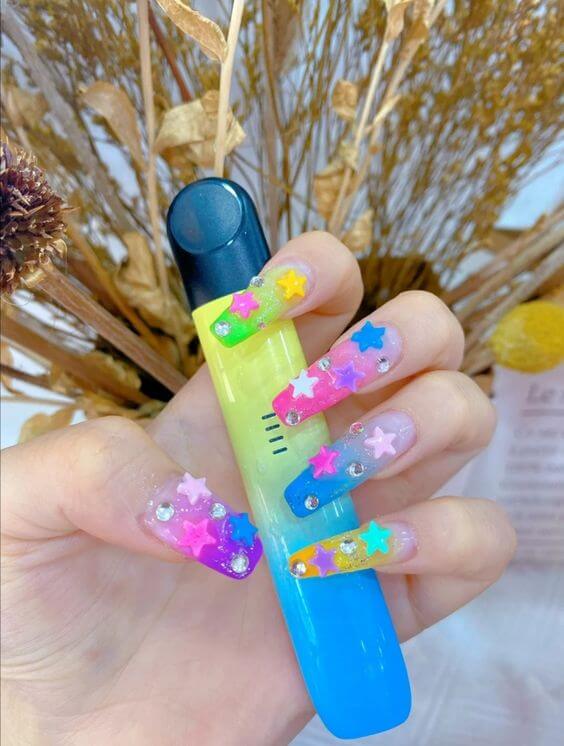
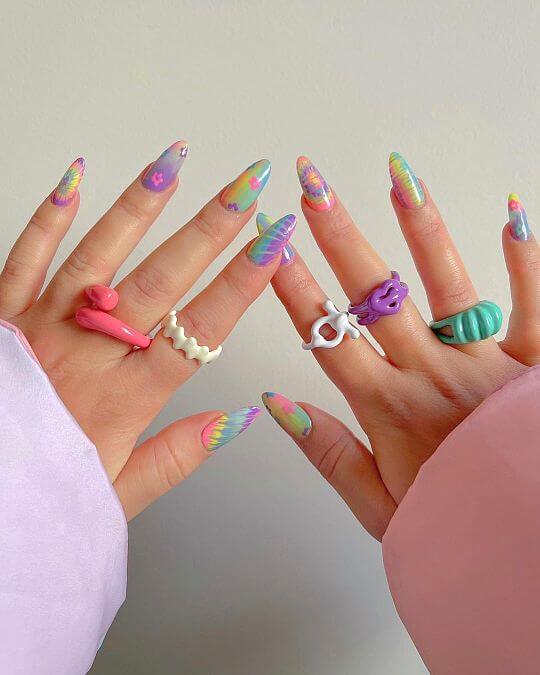
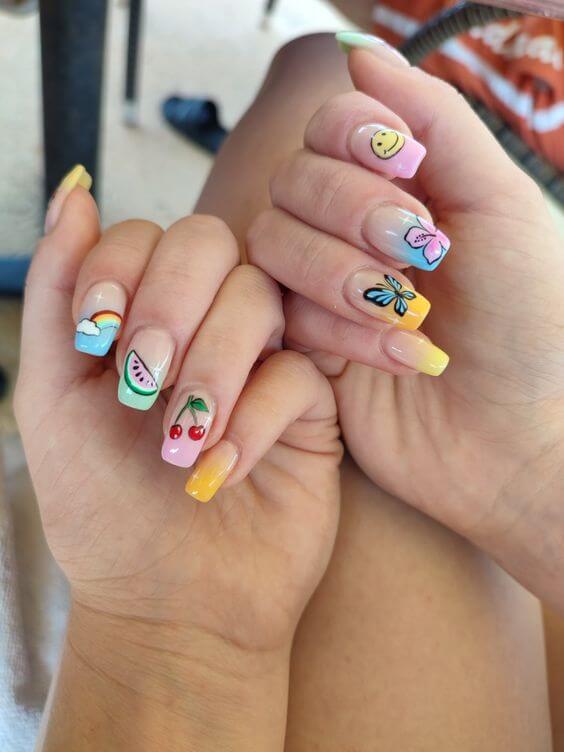
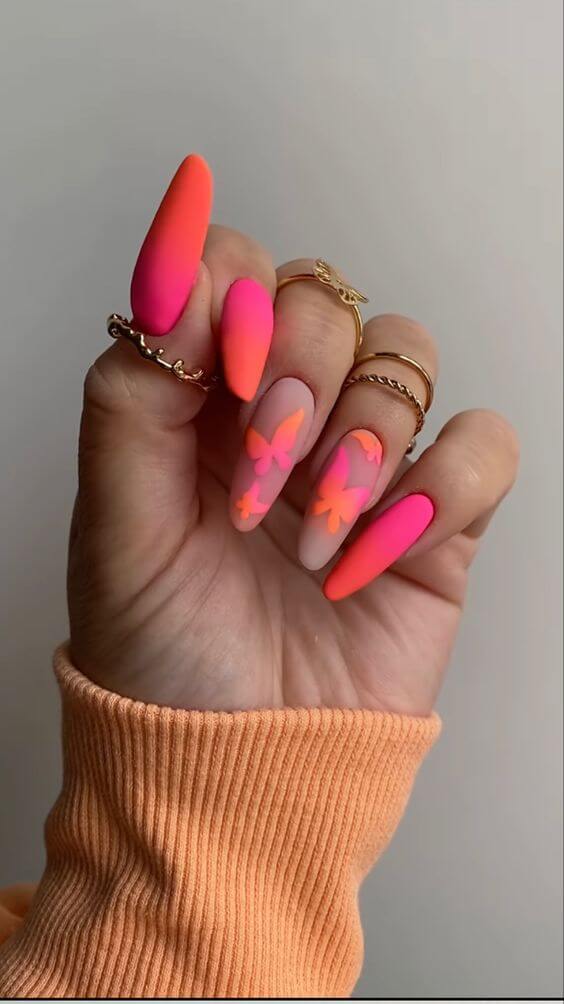
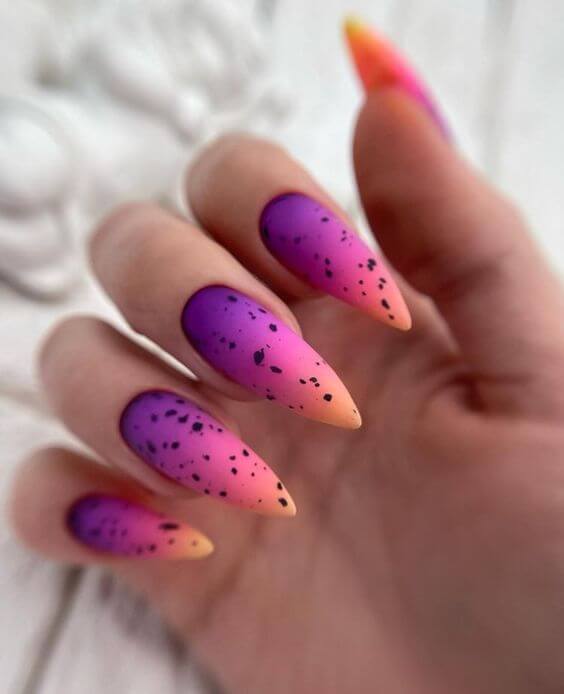
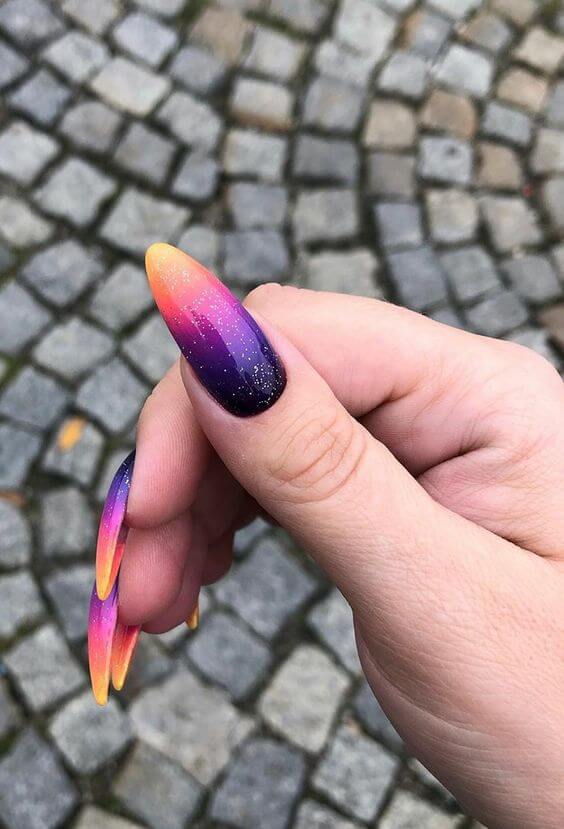
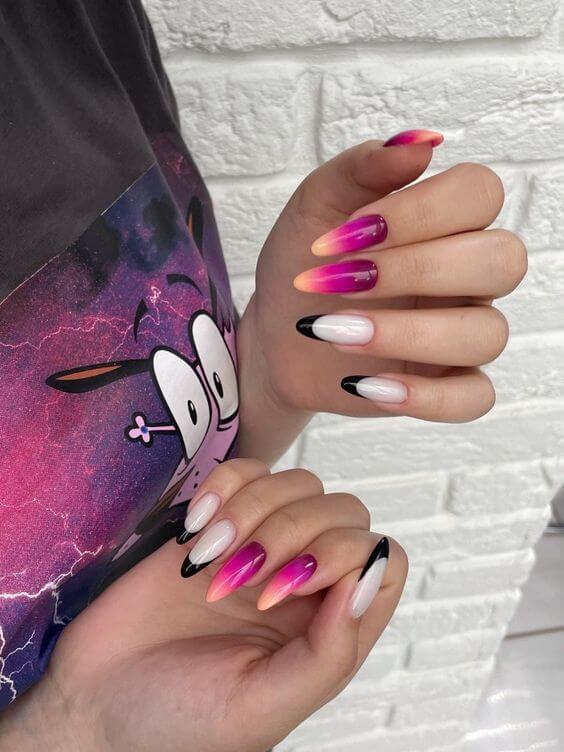
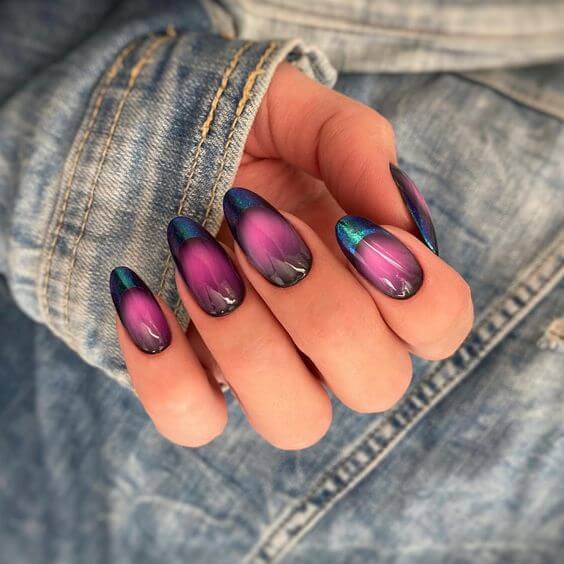
Finally, I included all different kinds of ombre manicures, from nail shape to nail color. Please save these photos to your phone (by pressing down on the photo and selecting save to camera roll) so that you can show your nail technician exactly what you want.
#5

- Pin It
Source: unknown
#6
- Pin It
Source: unknown
#7
- Pin It
Source: unknown
#8
- Pin It
Source: unknown
#9
- Pin It
Source: unknown
#10

- Pin It
Source: unknown
#11
- Pin It
Source: unknown
#12
- Pin It
Source: unknown
#13
- Pin It
Source: unknown
#14
- Pin It
Source: unknown
#15
- Pin It
Source: unknown
#16
- Pin It
Source: unknown
#17

- Pin It
Source: unknown
#18

- Pin It
Source: unknown
#19

- Pin It
Source: unknown
#20

- Pin It
Source: unknown
#21
- Pin It
Source: unknown
#22

- Pin It
Source: unknown
#23
- Pin It
Source: unknown
#24
- Pin It
Source: unknown
#25

- Pin It
Source: unknown
#26

- Pin It
Source: unknown
#27
- Pin It
Source: unknown
#28
- Pin It
Source: unknown
#29
- Pin It
Source: unknown
#30
- Pin It
Source: unknown
#31
- Pin It
Source: unknown
#32